Configuration Plug-in Installation
Most of the configuration of the ECMP ZFC Server application is done using the ECMP Zero Footprint Client Configuration plug-in. This is a Content Navigator plug-in implementing the ECMP ZFC Configuration feature. This feature is not necessary for end users. Therefore it is a best practice to install this feature in a separate desktop.
Installing the Plug-in#
To install this plug-in you have to take the following steps:
- Download the latest version of the plug-in and copy the jar-file to the location on your WebSphere server where you want to store custom plug-ins.
- Navigate to the admin desktop in the IBM Content Navigator application.
- Select the New Plug-in action in the Plug-ins section.
- In the New Plug-in dialog specify the path or URL of the location you used in the first step and Load the plug-in.
- Now the dialog will be populated with the different configuration sections. Supply the configuration (see the next section) and select the Save and Close action.
Note
The configuration is cached in the ECMP ZFC Server application. You have to restart the application when you make any changes to the Plug-in configuration.
Configuring the Plug-in#
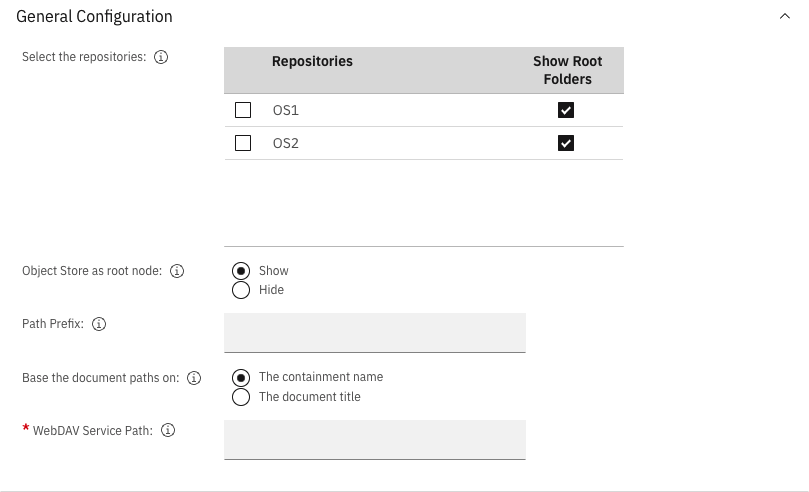
The first section is the General Configuration section. In this section you can configure how the path to the different WebDAV resources will be composed.
| Input | Explanation |
|---|---|
| Select the repositories | Select the repositories which are visible in the root of the zero footprint client. You can make a selection of all the P8 repositories configured in IBM Content Navigator. |
| Object Store as root node | Specify if the object store is shown as the root node. Otherwise the root node displays the folders and files contained in the root folder. This feature is only available if one object store is selected. If you have only one Object Store then hiding the Object Store is the best option. |
| Path Prefix | The prefix of the application path (without a trailing slash!). This value is used as the top level name of the URL to the application. If you don't specify a value then this part is skipped. This value is required if you want to use a Single Sign-on solution. |
| Base the document paths on | Specify if the document paths should be based on the containment name or the document title. Note that the application will handle folders containing documents with the same title and document titles containing illegal path characters (e.g. ? or :) |
| WebDAV Service URL | Specify the URL to the WebDAV application (without trailing slash!) |
| Input | Explanation |
|---|---|
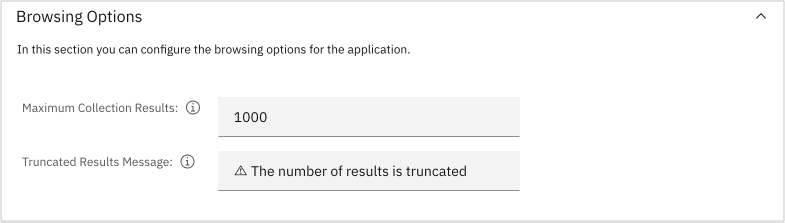
| Maximum Collection Results | The maximum number of results to return from a collection query. Use this in an environment where a collection can potentially have a large number of results. If the content of the collection is not returned within a specific time period (the default value is one minute), then the response is truncated and the collection will be shown as an empty collection |
| Truncated Results Message | The message that will be shown if the results are truncated. The message is the title of an empty file that is shown to the user: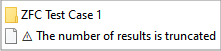 |
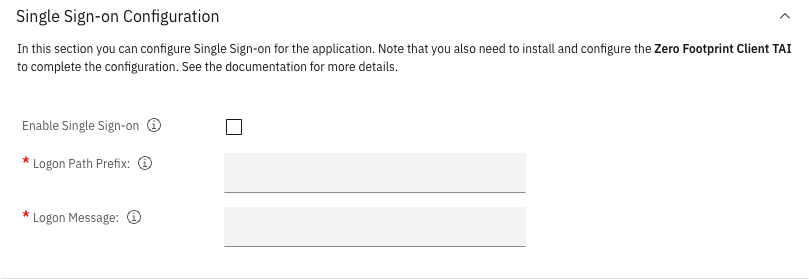
The next section contains settings specific for Single Sign-on. You can find more information about Single Sign-on in the Single Sign-on configuration instructions page.
| Input | Explanation |
|---|---|
| Enable Single Sign-on | Enable Single Sign-on for the application. In this case user authentication is handled by an external identity provider |
| Logon Path Prefix | The prefix of the path that is used to force a form based login challenge for SSO. |
| Logon Message | This is the title of the URL file shown in Window Explorer prompting the user to logon. |
Tip
First make sure that the application works with Basic Authentication before you attempt to configure Single Sign-on.
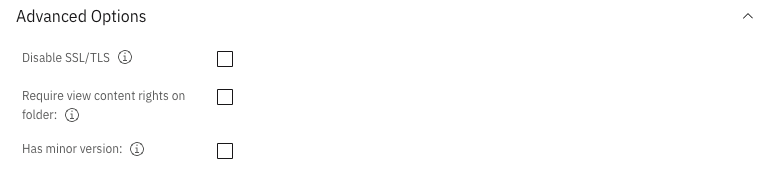
The final section contains some advanced configuration options, suitable for specific situations.
| Input | Explanation |
|---|---|
| Disable SSL/TLS | Disable SSL/TLS transport. Use this setting if when you use SSL/TLS offloading using a load balancer or if you don't require encryption (not recommended) |
| Require view content rights on folder | Require that the user has view content rights to see the content of a folder. |
| Has minor version | Check this if your object store contains documents with minor versions. The presence of minor version required more complex querying. |
Configuring the Desktop#
- Navigate to the admin desktop in the IBM Content Navigator application.
- Select the New Desktop action in the Desktops section.
- Supply the Name of the desktop (e.g. ZFC Admin Desktop)
- Supply the ID of the desktop (e.g. zfcadmin )
- Select a Repository in the Authentication section and optionally finish the Limit access to specific users and groups configuration.
- Select the option Select the deployed plug-ins to enable for use with this desktop in the Plug-ins section.
- Select the ECMP Zero Footprint Client Configuration Plugin and deselect all the other plug-ins.
- Assign the Object Stores you want to use in the Repositories tab.
- Add the Zero Footprint Client Configuration feature to the Displayed features list in the Layout tab. Deselect the features you don't want to include.
- Set the Zero Footprint Client Configuration feature as the Default feature.
- Set the Application name in the Appearance tab (e.g. ZFC Admin Desktop)
- Finally create the desktop with the Save and Close action.
If you navigate to the newly created desktop you should see the Start Page!